Super Easy Photoshop Editing Trick for Bloggers | KP FUSION
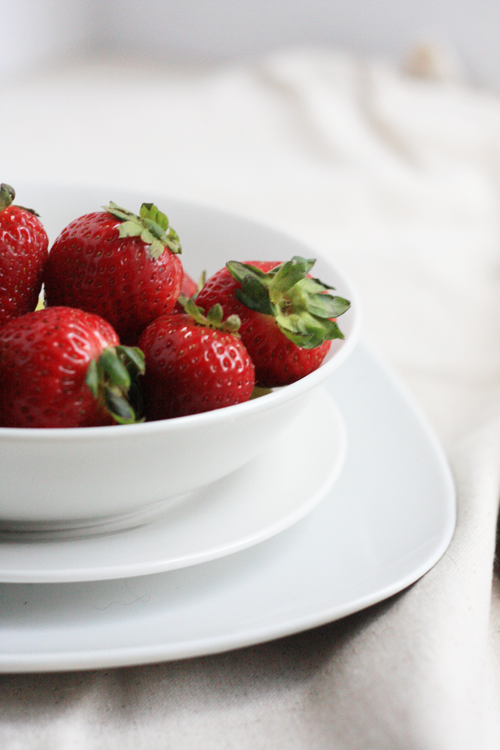
I’m basically self-taught when it comes to my editing skills in Photoshop, so whenever I figure out something new that’s going to streamline my photo-editing process, I get giddy. If you’ve ever taken photos in good (but not great) lighting and wanted to know how to brighten them w/o having too much contrast, this super easy editing trick is for YOU. Regardless of what version of Photoshop you have (I have CS3) this will work: Open your image in Photoshop. Duplicate the layer (from background copy is fine). Once you duplicate the layer, in that same box in the panel on the right side (it has Layers/Channels/Paths), there is a box next to the “Opacity” adjustment that says “Normal”. Click on it, and a drop-down menu will appear. Select “Screen” and then BOOM! Your photo will instantly brighten! On some photos the brightening effect will be even, but on others you may have to adjust the Opacity a bit. I upped the Saturation a smidge (+3) but that was IT. I took this photo in natural light about 45 minutes before sunset in early Fall. I played around with different settings but still couldn’t get what I wanted until I did this trick. The change is sublte enough to not lose any detail, and makes my $1 dishes look mad expensive, lol. Granted, I have a DSLR but even if you’re using a point and shoot, if you at least have decent lighting for your photos, this little trick will help you get the bright, clean shots that readers love. Happy editing! Friday Faves | Chunky Sweaters + Cardigans Home File | Graphic Accents